This page allows you to view existing categories, editing them, adding new categories, and assigning groups to categories. You can assign to categories groups that already exist, or create new groups.
Manage Categories
.gif)
|
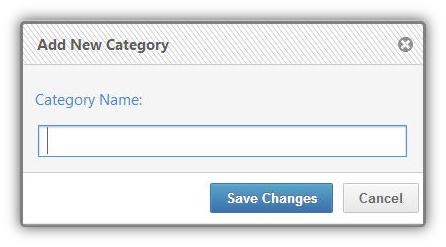
To manage categories follow the steps below: •Add a Category 1.Click 2.A pop-up screen appears
3.Type the name of the category you want to add. 4.Click •View all existing categories in a table listing categories names and the number of groups assigned to each category. •Edit the name of a category. 1.Double click the name of a category to edit it. 2.The table row expands
3.Replace the current category name with a new name. 4.Click •View Groups Assigned to a Category oClick oThe number between parentheses is the number of groups assigned to the category. oWhen you click, you are directed to Manage Groups. •Delete a category oClick •Delete multiple categories 1.Select the categories by clicking 2.A new button |
|
.png)
|
|
- When you hover over "Add new category" you will notice that you can add new category if your Account Type allows you to do so, Otherwise this button will be disabled for you. - If the account type is College, you can only view categories. You cannot add, edit, or delete categories. - You can edit the name of the category only if your account type gives you this permissions. |

Manage Groups
.png)
|
To manage groups follow the steps below: 1.Choose a category from the drop down menu labeled "Category," or add a new category. 2.Add a group. 1. Click 2.A pop-up screen appears
3.Enter the name of the group you want to add. 4.Enter the group code. 5.Enter the start and end dates of the group.
6.Click 7.The group is added to the table in a new row.
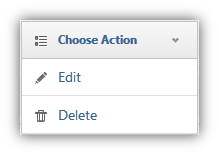
•View all existing groups in a table listing groups names and the number of examinees assigned to each group. •Edit group details 1.Click on the drop down menu labeled "Choose Action" in the table. 2.Click "Edit."
3.A widget Group Details appears.
4.Edit group information. 5.Assign examinees by clicking 6.Click •Delete a group 1.Click on the drop down menu labeled "Choose Action" in the table. 2.Click "Delete." •Delete multiple groups 1.Select the groups by clicking 2.A new button
•View Group Details You are allowed to only view the details of a group that has examinees assigned to it. 1.Click on the drop down menu labeled "Choose Action." 2.Click "View."
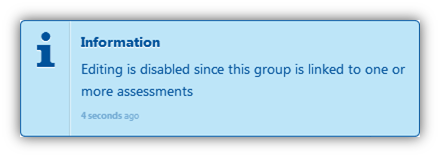
3.A widget Group Details appears.
4.An information box appears to notify you that you cannot modify the group because examinees are assigned.
|
|
.png)

.gif)
.png)
.png)
|
|
If the Account type is College or School, the group code, start date, and end date are mandatory. |
See Also
SwiftAssess © 2021